承續之前提的
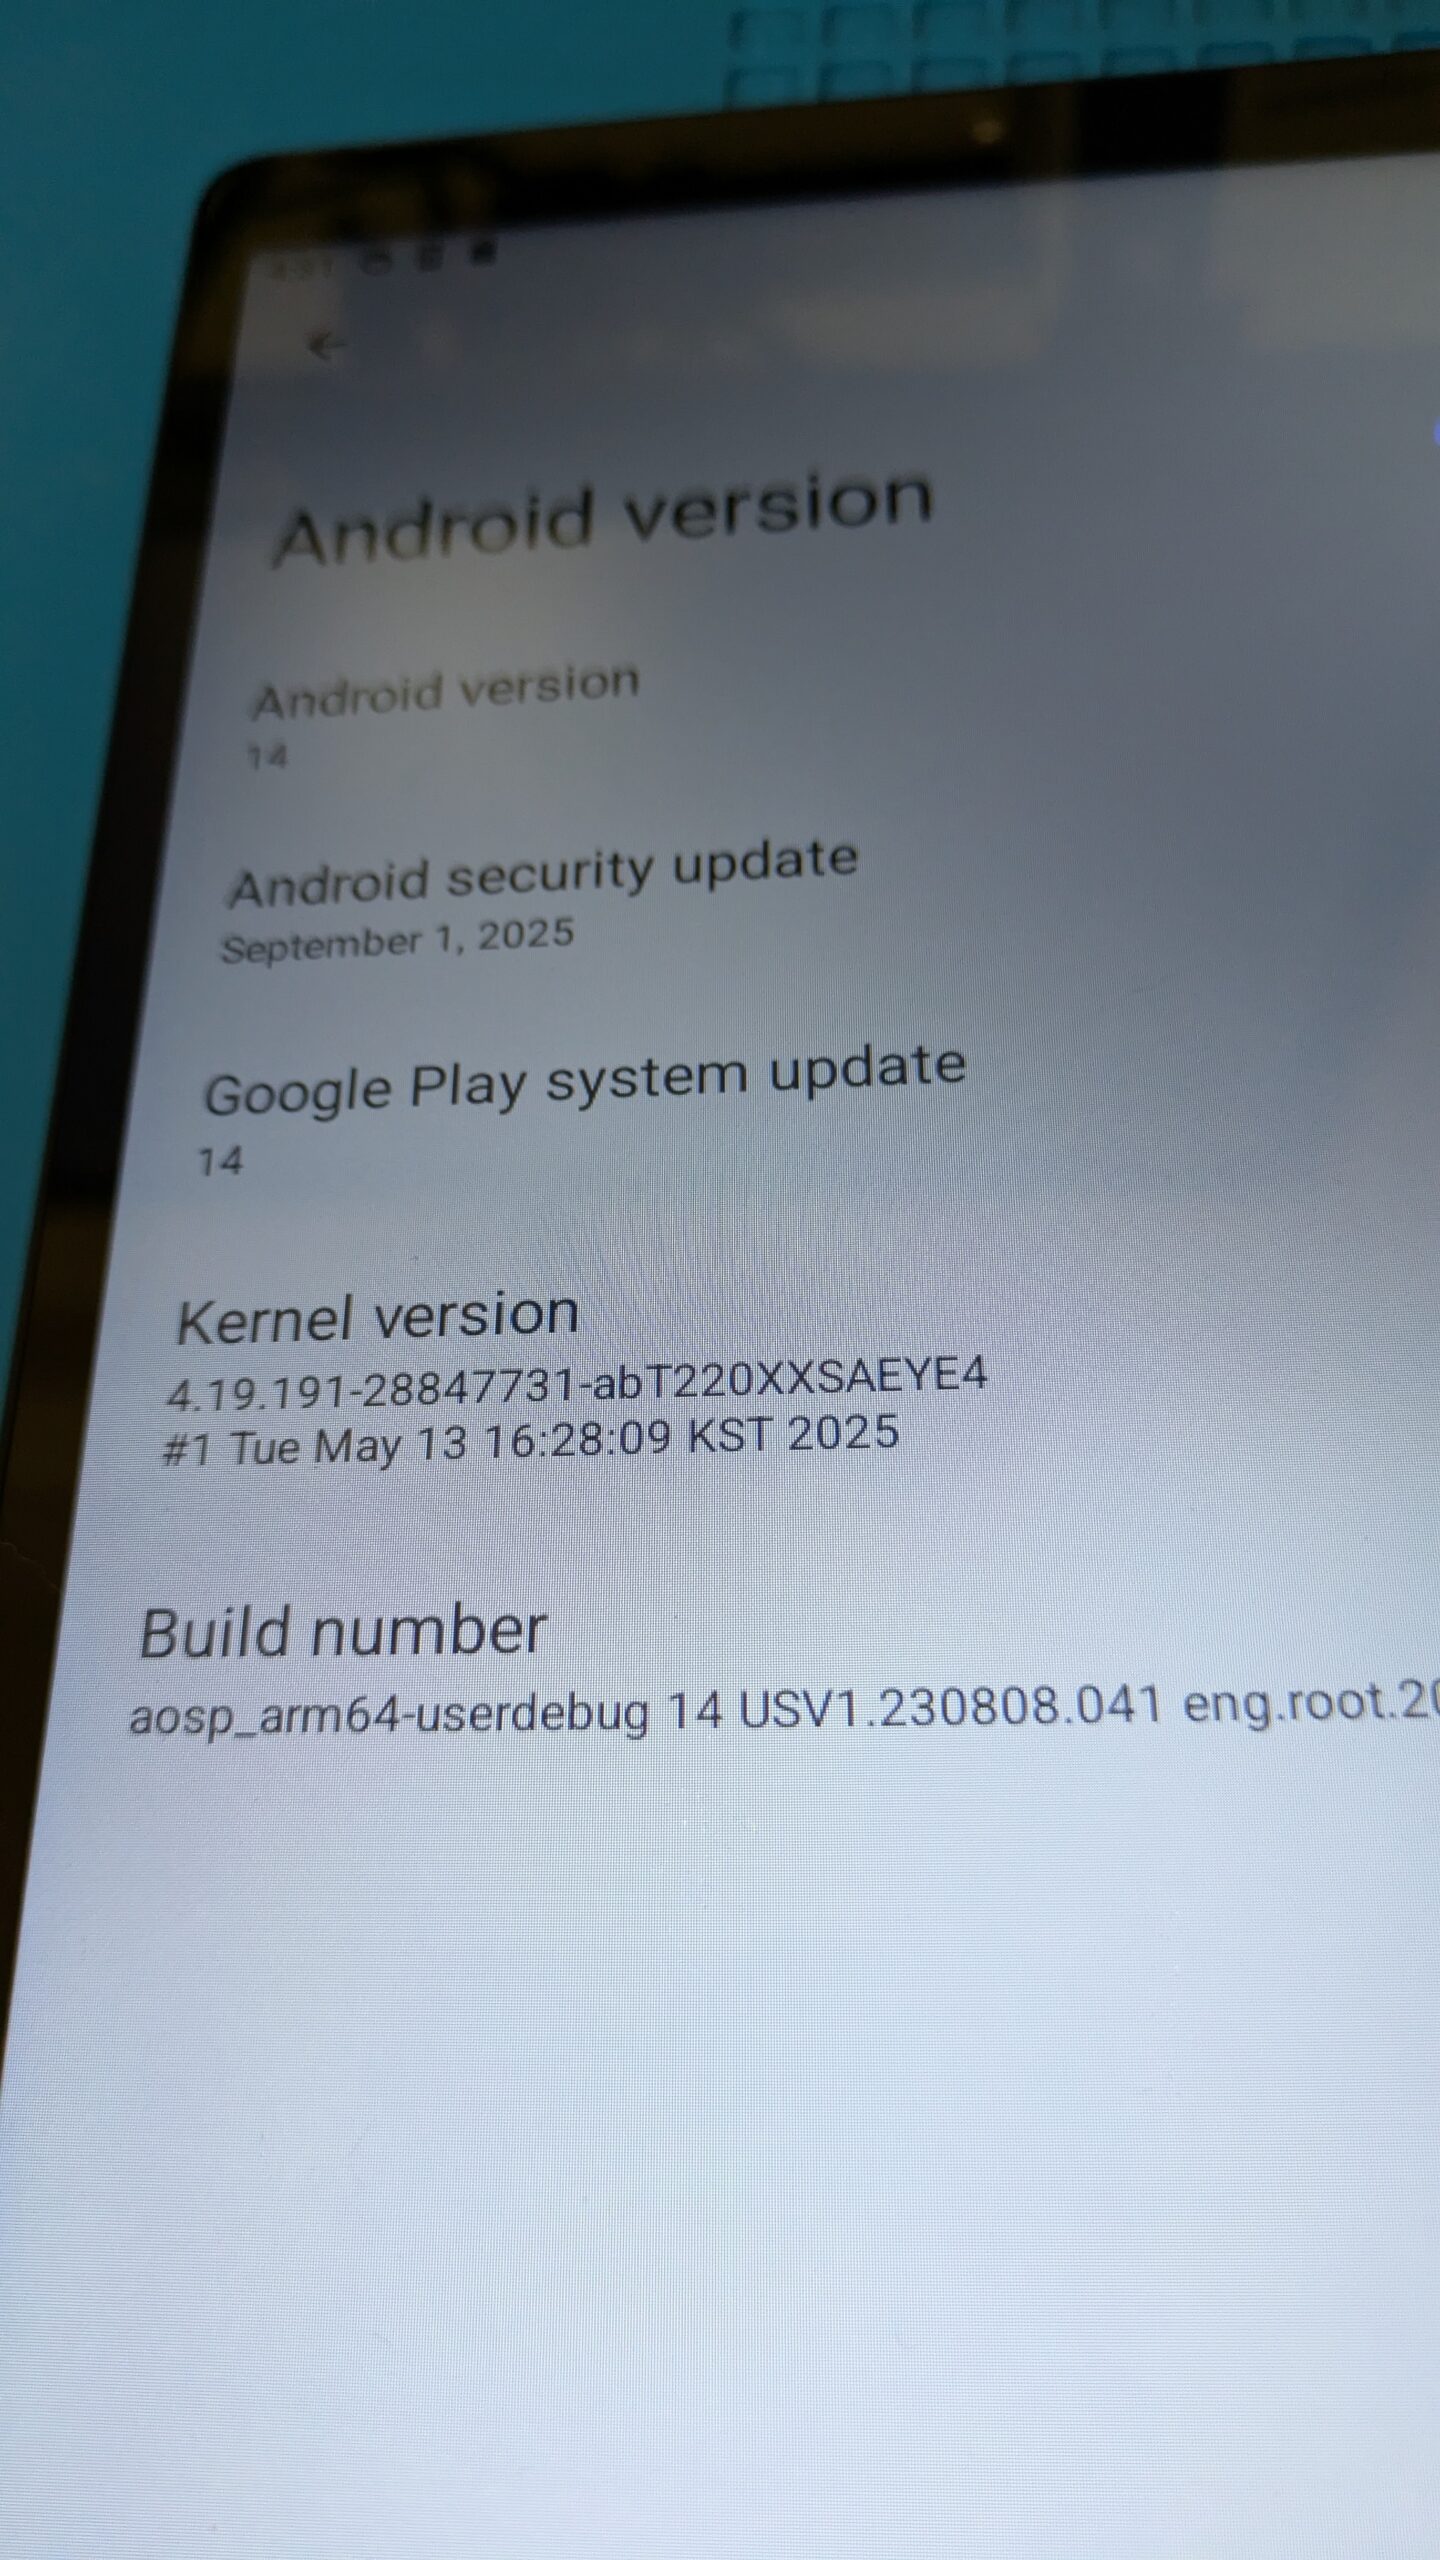
- 〈為 Samsung Galaxy Tab A7 Lite (SM-T220) 刷寫 GSI 以更新 security patch level〉
- 〈真的是不太明白 Google 對 AOSP 的 PLATFORM_SECURITY_PATCH (Security Patch Level) 維護政策〉
來建置一份可用的 GSI:
第一階段:建置,並在 DSU 動態系統分割區驗證可用
repo init -u https://android.googlesource.com/platform/manifest -b android-security-14.0.0_r22 --depth=1repo sync --force-sync --current-branch --no-clone-bundle --optimized-fetch --prune- 因為 AOSP Android 14 適合在 Debian 12 底下建置(一堆 prebuilt binaries 依賴 libncurses5)所以寫了一份 Containerfile 做出 Debian 12 based 的建置環境容器。
- 啟動上述的容器,記得掛載下載的 AOSP 原始碼所在目錄,並跑起 /bin/bash 來操作。
source build/envsetup.shexport PLATFORM_SECURITY_PATCH="2025-09-01"lunch aosp_arm64-userdebugm- 建置成功沒出包的話,離開容器,繼續操作。
cd out/target/product/generic_arm64gzip -c system.img > system.gz- 等待上述壓縮程序的時候,可以把平板電腦的 SD 卡先格式化,或換一張空白卡,避免先前如果操作 DSU (Dynamic System Updates) 失誤,殘存的檔案造成 DSU 誤判 system.img 無效而無法繼續執行。
adb push system.gz /storage/emulated/0/Download/adb shell am start-activity -n com.android.dynsystem/com.android.dynsystem.VerificationActivity -a android.os.image.action.START_INSTA
LL -d file:///storage/emulated/0/Download/system.gz --el KEY_SYSTEM_SIZE $(du -b system.img|cut -f1) --el KEY_USERDATA_SIZE 8589934592- 等待 DSU 就緒,重開至動態系統。
- 驗證 GSI 在 DSU 底下可用。
第二階段:刷寫經上一階段驗證可用之 GSI
- 從動態系統重開機回到原始系統。
- 從 DSU 通知列將試用可用的動態系統捨棄。
- 重開機進入下載模式。(
adb reboot download) - 刷寫打過補釘、包含 fastbootd 的 recovery。(
heimdall flash --recovery ./recovery.img --no-reboot) - 手動離開下載模式,再手動進入 recovery 模式,接著進入 fastboot (fastbootd)。
fastboot flash system system.img- 重開機,可能會在啟動失敗個一、兩次後,進入 recovery 被要求執行 factory reset
- 進入被成功替換的主系統。